Showing posts with label light painting. Show all posts

Monday, April 20, 2015

Another Shot at Light Painting Cherry Blossoms with the Nikon Df

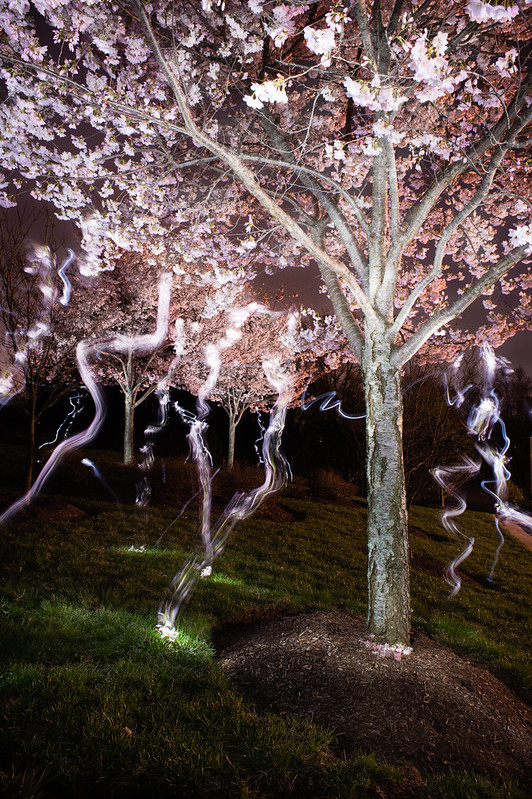
Referring to my post from two days ago, I decided to get back out with the cherry blossoms after dark one more time this year. Fighting my allergies, last remaining vestiges of jet lag from the Japan trip, and worries that my neighbors would wonder why this crazy guy was shining his flashlight up into the trees for an hour or so, I went for it. Here are my favorite light painting shots of the cherry trees this spring.
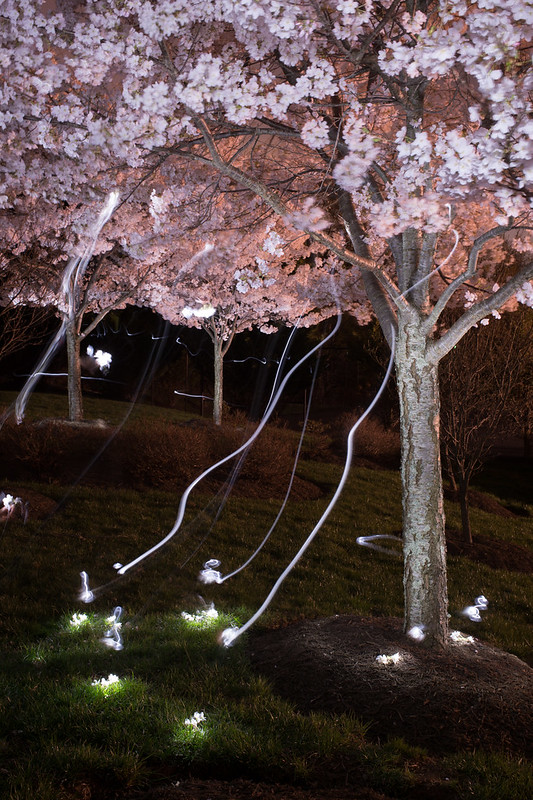
 
Falling Blossoms #1, by Reed A. George
Nikon Df, Nikkor 35mm f2 AF-D Lens
iso 100, f11, 479 seconds
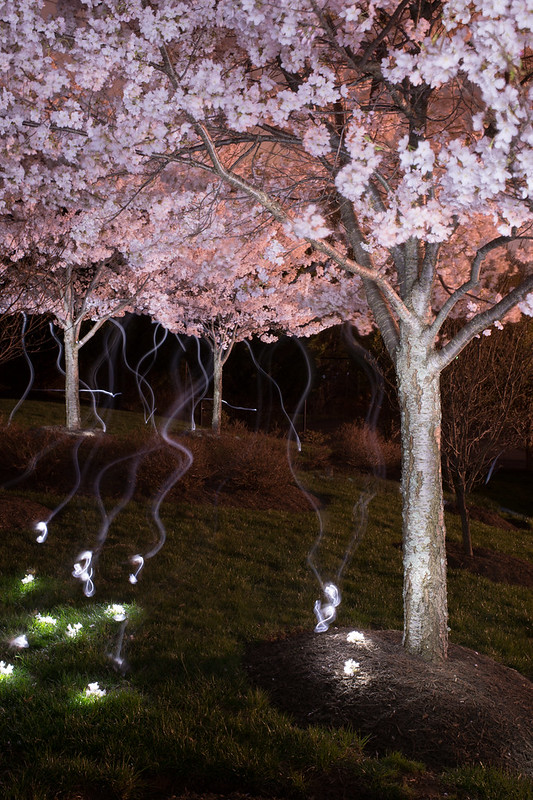
Falling Blossoms #2, by Reed A. George
Nikon Df, Nikkor 35mm f2 AF-D Lens
iso 100, f11, 357 seconds
 
Yes, it took me 6-8 minutes per shot to do all of the light painting you see here. I had to paint the trunks of all three trees, then the branches. Then, I did the falling blossoms (several per tree). All with one flashlight. I think it was worth it. I feel that I succeeded in making something unique if not beautiful. At least they're not just one more series of straight shots of cherry trees. And through the process, I learned some of what not to do as well as what kind of works in this type of photography.
 
DMC-365.blogspot.com
 

Saturday, April 18, 2015

Cherry Blossoms, Light Painting, with the Nikon Df

I have the opportunity to shoot cherry blossoms every year, usually in both the Washington, DC area, and in Tokyo. Very different opportunities, of course, but each very nice.
 
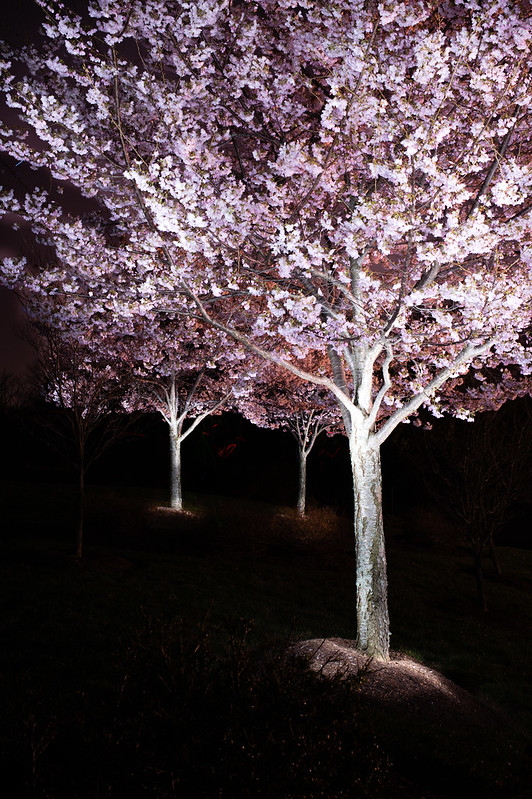
I find that when a subject becomes routine to me, I am challenged to make pictures that are interesting to me, and probably to anyone else who's looking. A few years back, a friend and I started to experiment with light painting the cherry trees (using flashlights to artificially light the trees in the dark). I feel that I've gotten better at this over time. Here's the first shot I was happy with from a quick outing last night with the Nikon Df.
Light Painting, Cherry Blossoms, by Reed A. George
Nikon Df, Nikkor 35mm f2 AF-D Lens
iso 100, f11, 131 secs exposure
 
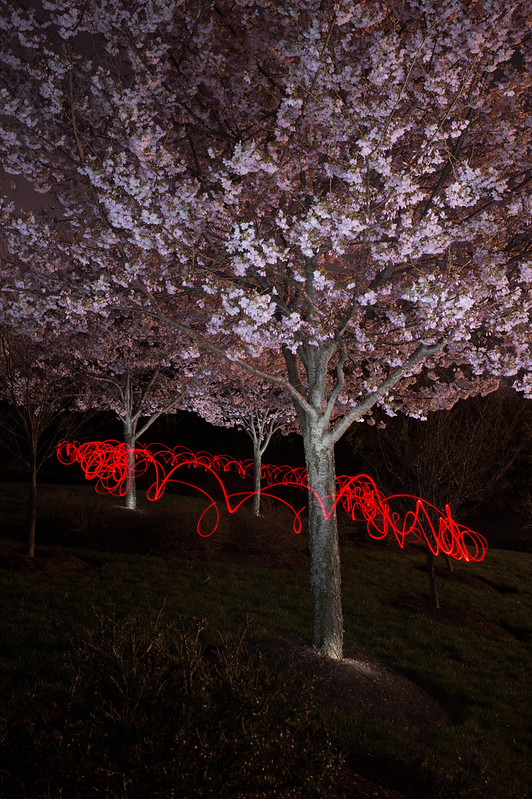
Having gotten the first shot I had in mind, I started playing around with other ideas. First, I tried adding some red light (two small red light flashlights, one in each hand).
 
Light Painting, Cherry Blossoms, by Reed A. George
Nikon Df, Nikkor 35mm f2 AF-D Lens
iso 100, f11, 231 secs exposure

 
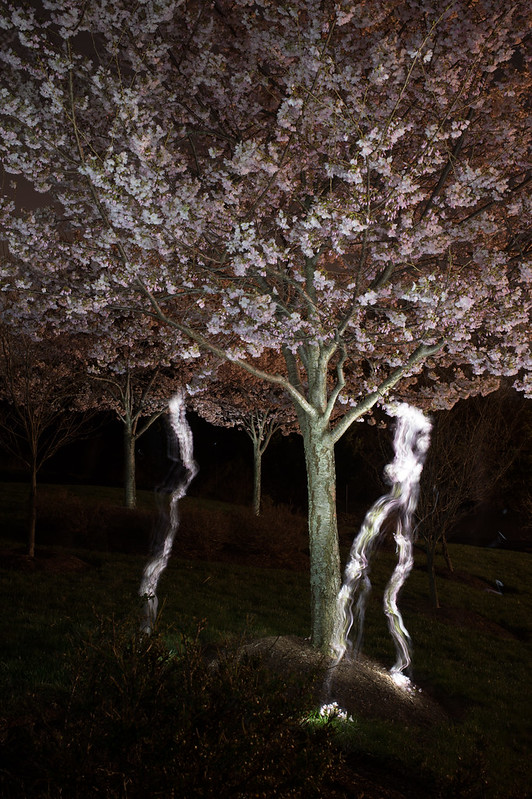
Okay, I guess, but nothing special. Then, I got an idea. I've always wanted to photograph the blossoms falling from the trees, or at least represent that concept. So, I grabbed a small branch of blossoms and used the flashlight to light it as I simulated it falling from the tree. Here's what that looks like.
 
Light Painting, Cherry Blossoms, by Reed A. George
Nikon Df, Nikkor 35mm f2 AF-D Lens
iso 100, f11, 202 secs exposure
 
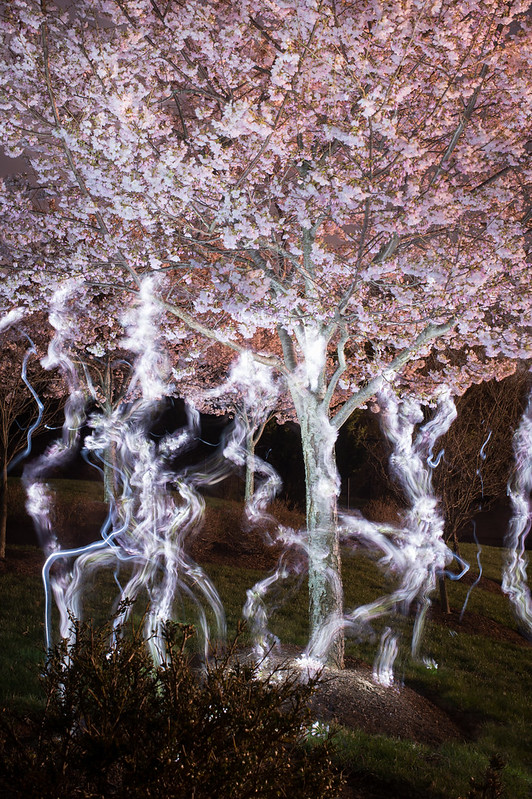
Then, I decided to try more of that, switching from the 35mm to 24mm Nikkor.
 

Light Painting, Cherry Blossoms, by Reed A. George
Nikon Df, Nikkor 24mm f2.8 AF-D Lens
iso 100, f11, 435 secs exposure

Light Painting, Cherry Blossoms, by Reed A. George
Nikon Df, Nikkor 24mm f2.8 AF-D Lens
iso 100, f11, 384 secs exposure

These are kind of cool, and probably my favorites from the evening.
 
Then, I decided to put it all together. Maybe it's a bit much, but here it is.
 
Light Painting, Cherry Blossoms, by Reed A. George
Nikon Df, Nikkor 24mm f2.8 AF-D Lens
iso 100, f11, 486 secs exposure
 
This was an interesting evening of experimentation. It gives me ideas for some further exploration, but I have to do it fast; the cherry blossoms won't last long.
 
At least these aren't just like every other cherry blossom shot I see every year.
 
DMC-365.blogspot.com
 

Tuesday, January 6, 2015

Making Tea - A Quick Slideshow

I was looking for something to photograph this evening, and decided to try out the new Teavana tea infuser that I got for Christmas. I set up a black cloth background, put the Nikon Df on iso 200 with my 28mm f2.8 lens and 3-stop ND filter. With this setup, at f16, I could leave the shutter open for minutes at a time without ambient light showing up in the pictures. I then proceeded to "paint" my subjects with a small flashlight, making images at various points in the tea making process.
 
Here's how it turned out:
 
Relaxing Holiday Tea, by Reed A. George
 
Just a little diversion for an afternoon. I learned a few things from this. First, I needed to be more careful about spots on the glass infuser. Second, I needed to pay close attention to the flashlight being directly reflected from the ceramic and glass surfaces. But, it's definitely something I could perfect in a second shooting, if I decided to. I see now why product photography is painstaking and difficult. But, it's actually pretty fun.
 
DMC-365.blogspot.com
 

Friday, November 7, 2014

Light Painting in Japanese Shrine - Guest Author Allexandroff on DIY Photography Blog

Image Source: http://www.diyphotography.net/show-light-painting-photo-fushimi-inari-shrine-kyoto-japan/
 
A guest author, who goes by the name Allexandroff, has posted both the results and his process for shooting light painting shots at a famous Japanese shrine.
 
(Click Here) to read about it on diyphotography.net.
 
This makes me think about my next visit to Japan. I always enjoy visiting Japan, and have several favorite places that are a short walk from where I stay in Tokyo. However, I find that the familiarity makes it challenging to get exciting images there. Maybe next time I'll try some night shots, and maybe even some light painting. It could add a new dimension to how I think about photographing these places.
 
DMC-365.blogspot.com
 

Wednesday, January 8, 2014

DIYPhotography Shows Great Photo Setups With Granite Tile

Still in the process of trying to recover my hard drive after the failed "within Lightroom" transfer process, I'm having to resort to cross-posting a little more than normal. No to worry, I'll be back post some of my own work very soon.
 
(Click Here) to read what happened to me in my file-transfer nightmare; maybe it'll help you avoid the same issues.
 
I saw a great post on DIYPhotography today, about how to use a granite tile as a base for cool product-style photography. Here's the shot that caught my eye:


Image Source: http://www.diyphotography.net/granite-tile
 
(Click Here) to read the full post on diyphotography.net
 
There are lots of good examples in this post, including how to integrate light painting with this style of shooting. Not exactly what you'd want to use for selling products on ebay, but certainly cool. There's another image of a Rolleiflex that I really love.
 
So, if you're bored on a cold winter day, there are certainly some ideas at the link above for you to play around with.
 
DMC-365.blogspot.com
 

Tuesday, September 18, 2012

From the Zeiss Lens Blog - Photographer David Zimand Talks Portraits


Carl Zeiss Planar 50mm f1.4
Image Source: http://www.adorama.com/ZI502PB.html
 
The Zeiss Lens Blog has posted an interview with portrait and people photographer David Zimand.
 
(Click Here) to read the story and see several of David's gorgeous black and white portraits.
 
(Click Here) to go to David's site.
 
Also, google David's name to see tons of great images.
 
David shares several important thoughts about how he approaches people photography. First off, he loves people. That's important, and shows through in his work.
 
He especially seeks out people with "bright eyes." Then he accentuates their eyes, or other distinguishing features, including with the use of ring lights. You'll see the characteristic profile of a round ring light in the eyes of many of David's subjects. Some people find this troublesome. I think it is defintiely "in your face," and not subtle at all. However, it does make for dramatic eyes. Along those lines, David also prefers to shoot his subjects looking into the lens.
 
David shoots about 80% black and white. He feels that it gives him better control, and allows him to produce the richness in tone that he prefers.
 
In terms of suggestions for developing photographers, David's advice sounds like many others - try many different approaches to develop your style, step out of the comfort zone.
 
I find this kind of advice vaguely motivating, helping me to go a little further. However, it is generic, a little abstract. I think it's the kind of advice that makes more sense once you've experienced its use in your own way. It's sort of like saying - "Work on projects, with subjects you love." Well, sometimes we don't know what we love most until we've spent time and effort trying to photograph it.
 
DMC-365.blogspot.com


Sunday, July 15, 2012

Light Painting - Fun Photography Anywhere It's Dark

Light Painting by emptysensor at mu-43.com
Image Source: http://www.mu-43.com/f88/first-experiment-light-painting-images-attached-28789/
 
Poster emptysensor posted a couple of shots he made with "light painting." Light painting involves opening the camera shutter for a long exposure (25-30 seconds in this case) in a dark area, then using a light source to paint any picture you like. emptysensor used a Panasonic Lumix DMC-GX1 and Lumix 7-14mm f4 zoom.
 
(Click Here) to see the original post on mu-43.com.
 
My favorite light painting image ever was Pablo Picasso, drawing a centaur, in 1949.
(Click Here) to see Picasso's image on life.time.com.
 
(Click Here) to see a great site, dedicated to light painting (lightpaintingphotography.com).
 
I have done some light painting of my own. I have not spent the time to perfect it, but can see that I could really develop a nice project around it.
 
Here's a fun little example, where Darth Vader agreed to light the candles on my daughter's birthday cake. He's nice that way.
 
Happy 10th Birthday, from Darth, by Reed A. George
 
So, if it's as hot where you are as it is here, don't despair. Grab a flashlight, pull the shades, and get to work!
 
DMC-365.blogspot.com